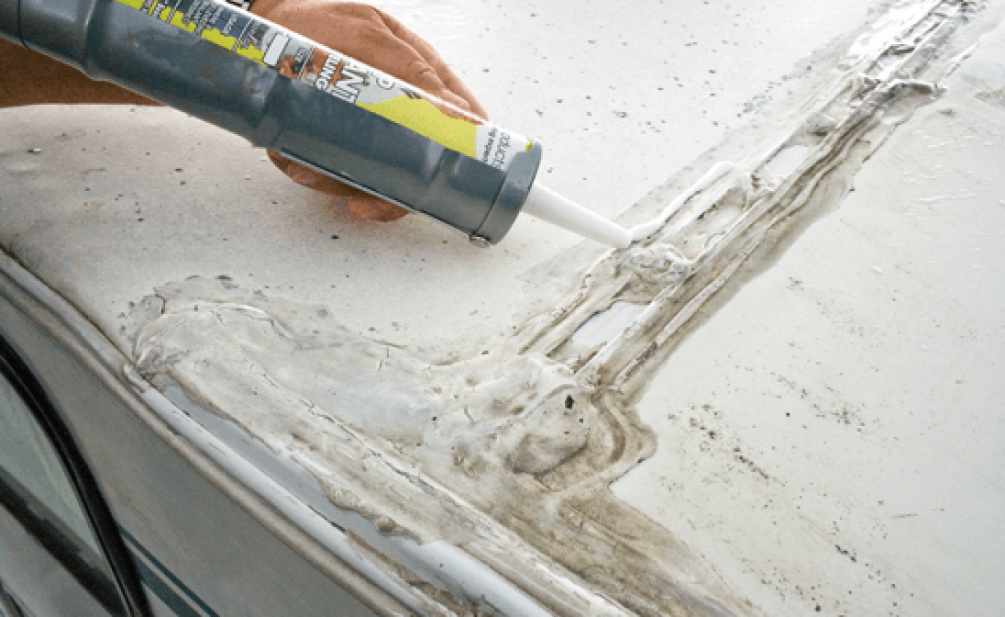
Just like other parts of your RV, the roof can wear down overtime due to harmful UV rays, snow, ice, heat, and periods of extreme cold. Giving your RV roof the proper care it requires is important to ensuring its enjoyment in the long-term, as damage from a leaking roof can cost hundreds or thousands of dollars and hinder resale value. A leak in the roof can end up rotting away the flooring and cause squishy areas. Replacing the floor in your RV or camper is an extremely costly endeavor.
There are a few ways you can go about sealing your roof. You can get it professionally sealed, which can easily cost you $1500-$2500, or you can do it yourself! In this article, we will show you some DIY solutions based on your roof type for ensuring the roof of your RV stays in top shape.
All Surface Solution:
If you are sealing around vents and air conditioners, screws, roof edges, Etc., Dicor products also makes a self-leveling product which is available on amazon called Dicor 501LSW-1. This product is a favorite amongst RV do it yourselfers and professionals. I have been using this product for many years with great results. Make sure you always clean the area you are sealing first for best adherence. Removing old weather worn sealant is also important to ensure a clean application.
Rubber Roofs:
Rubber roofs can last longer than any other with proper care. These roofs can live for a good 10 years, only needing the occasional soap wash. When choosing a product, be sure to avoid any petroleum-based products as they will cause major damage – leading your roof to look loose or swollen.
The best coating to use is EPDM – it is an incredibly durable synthetic rubber roofing membrane. EPDM comes with an activator that you will need to mix with the sealant. EDPM roofs may look chalky. This chalky layer is oxidized EPDM, and it is actually a good thing because it protects the rubber from degradation. Here’s a link to one of the top-rated EPDM sealants on called Dicor PRCRC1. Also, to ensure proper adhesion, be sure you use it with a good Cleaner/Activator. Again, the Dicor brand is a trusted product and my go to.
Metal Roof
Metal roofs were the go-to before rubber was mainstream. If you have a metal roof, you’re in luck! Although household roof coatings will seal a metal roof just fine, the best product by far is Kool seal. It works super quick – just apply it and you’re good to go!
Fiberglass Roof
Fiberglass roofs oxidize just like rubber roofs – especially the older model RV’s. The biggest reason behind this is because gelcoat was likely not applied to it. Now-a-days, gelcoat is sprayed on to protect the hull and give it color and shine. It is everywhere! The “ultra-gloss” look can be seen on new RVs, boats, and even cars. To get the same look on the roof of your RV, you need to start by cleaning the surface. Be sure any grease stains are removed. Then, apply the gelcoat wax in a circular motion using a soft cloth. Apply the polish until the surface becomes glossy. One of the best products for this is Gel-Gloss – it will have you looking good in no time!
All these solutions should not take you longer than an afternoon – and you can save thousands of dollars by doing them yourself! To make any solution last longer and ensure your roof stays healthy in the long term, just check up on it once a year. Make sure it is still looking good and has not suffered any damage. If you do this, you will have a roof that can last a lifetime!

