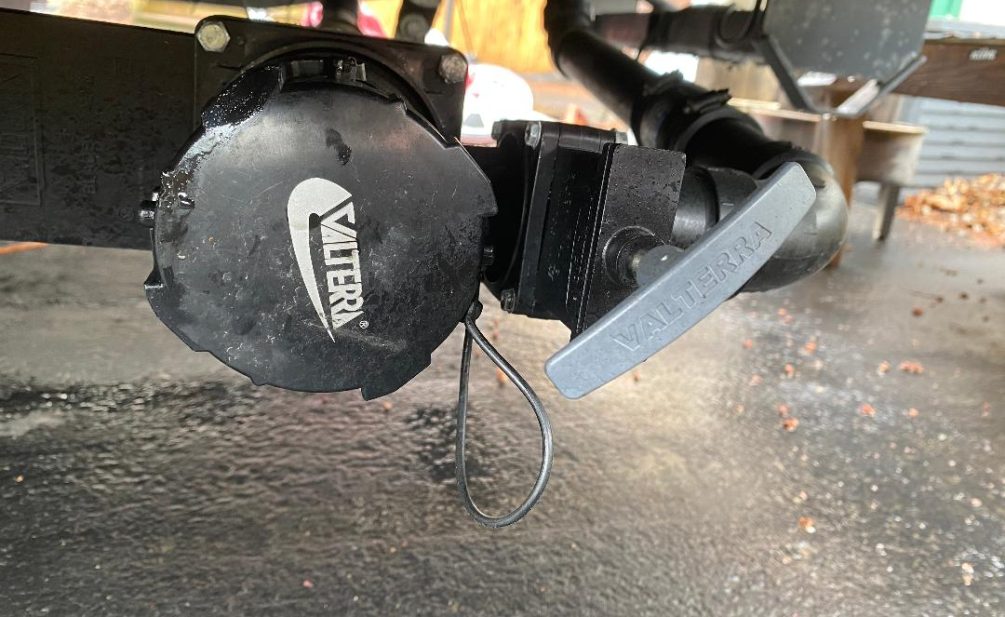
Cleaning your Camper, RV, or motorhomes tanks is a chore most owners will not encounter very frequently unless their RV sees extensive use. If your family uses the RV for two to three weeks a year and drains the tanks properly, you may never have to do anything with your tanks other than fill and flush them a bit on occasion. For those out there that live in their RV’s or spend months at a time using the sewage system, more upkeep may be required. Below I will go over the ways in which you can maintain your sewer tanks from the minimal approach to the more complex.
Regular Use Flush
When out on your next excursion, just using your sink and toilet systems can go a long way in maintaining them your tanks and keeping them fresh. While your set up and hooked up to both water and sewer, keep your black and grey water valves shut so that the tanks can fill up during normal use. Do no overfill the tanks and empty when them when your indicator shows they are near full. Start by opening your black water valve and draining it completely into your sewage receptacle or dump station. Once the black water tank is completely drained, close the valve and open your grey water valve and completely empty. Doing this in this order will allow the soapy dishwater and other sink used water to flush your RV hose removing much of the reside keeping it cleaner.
This of course will not clean the inside of your black water tank. To rinse your black water tank, while still hooked up to the city water connection, use your toilet fill mechanism to again fill your black water tank but this time with fresh water. Also fill your grey tank to about a quarter full. Repeat the process of emptying your black water tank first, and them your grey water into the sewer. Your black water tank will be much fresher than if you have just emptied the black water and shut the valve to sit for extended periods.
Ice Cubes and soap
An old method than has been relied on by countless RV and motorhome enthusiasts is ice cube and soap method. This entails pouring about 3 large bags of ice into your RV toilet and pouring about a quarter cup of dish soap down the drain. Then fill your tank about a quarter to halfway with water. After that, go for a fifteen or twenty-minute drive where you are starting and stopping and turning along the way. The theory is that the movement of the ice, water and soap in the tank will clean the sides of your black water tank. This has been tested and does show to some results but is not the best method to clean an extremely dirty tank.
The Camco RV Tornado Rotary Tank Rinser will help to reach every area of your holding tank. This permanent tank rinser with 360° rotating head and multiple high-pressure nozzles is the easiest, most sanitary way to clean your holding tank. No need for hoses through the windows or devices stuck down toilets. Includes a backflow preventer and 6′ exterior access hose for quick hose connection with no mess. Having at least 40 PSI of water pressure is required otherwise the head will not spin properly and clean as effectively.
I believe these methods are the best options for cleaning our your tanks and the Tornado rinser would be my preferred method is the fill and flush method was not getting the job done!


